I didn't plan to get into hybridizing daylilies, I just wanted to leave that for the experts and I'd content myself with collecting and selling what other hybridizers were developing. Then, international hybridizer Ted Petit and his wife Susan, visited my garden and told me I needed to hybridize. I have been working on a few plants every year and usually get 100 to 200 seeds. Because my property is extremely rocky that's about all I can handle for space to plant new plants because it takes weeks to prepare a new bed.
Daylilies are very easy to hybridize. You take the pollen from the stamen of one daylily and put it on the pistil of another daylily. You don't have to worry about covering it as the insects rarely pollinate the pistils on daylilies. If you have a bit of space to plant them, it is great fun to hybridize and see what the offspring will be. Some of them may end up spotted or kind of ugly and others may be quite beautiful. Each seed from the parents will produce a different seedling, just like kids in a family. I'll take you through the process on the following pages and then finish with photos of some of the blooms on my seedlings last summer. There are diploid daylilies and tetraploid daylilies. This has to do with the number of chromosomes that they possess. You cannot cross a diploid with a tetraploid because no seed will develop.
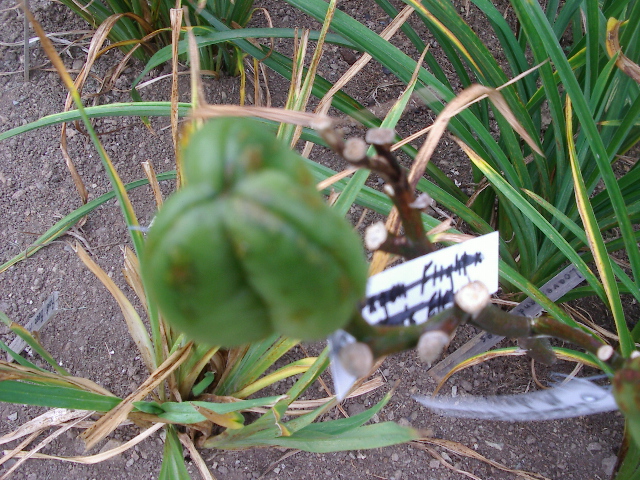
Here are photos of two parents (both are dipoids) that I used for one of my first crosses (putting pollen from one daylily on the pistil of another).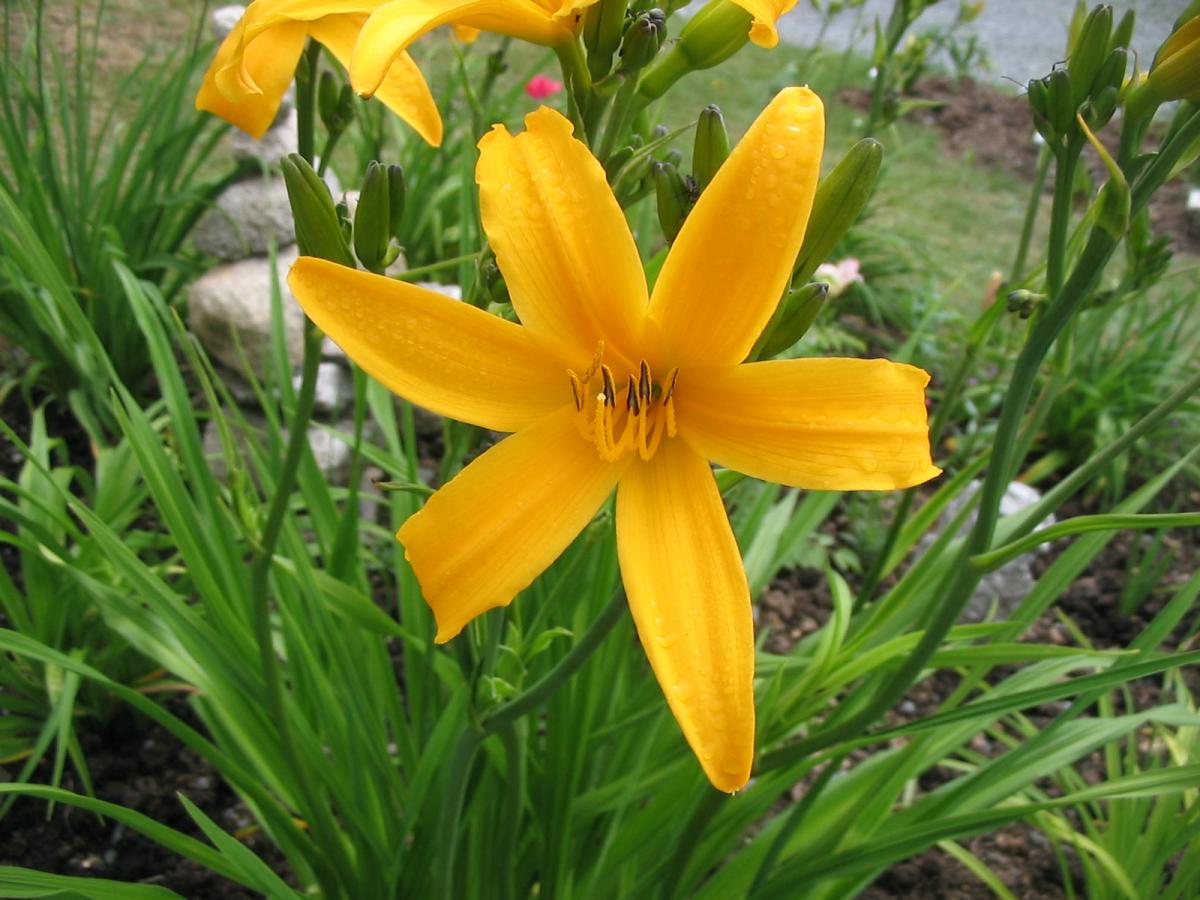
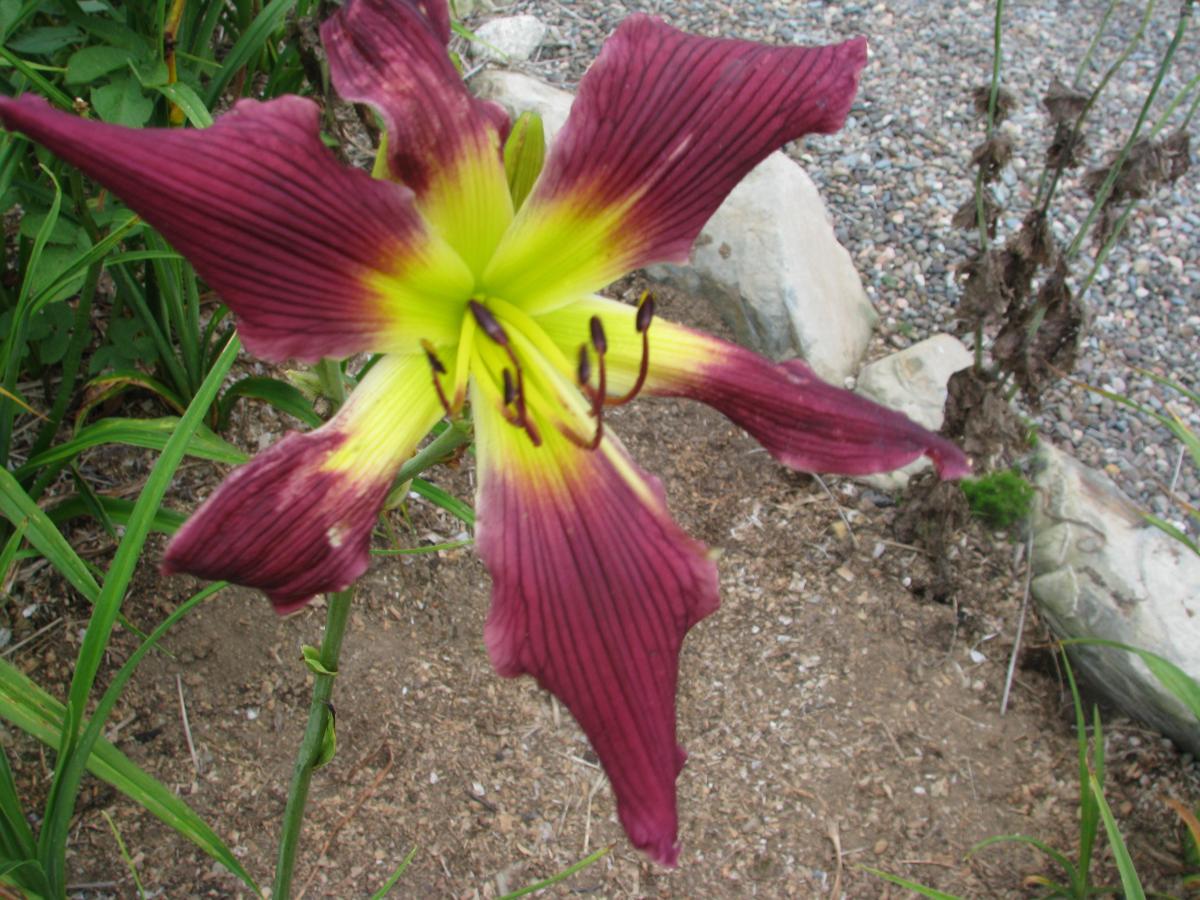
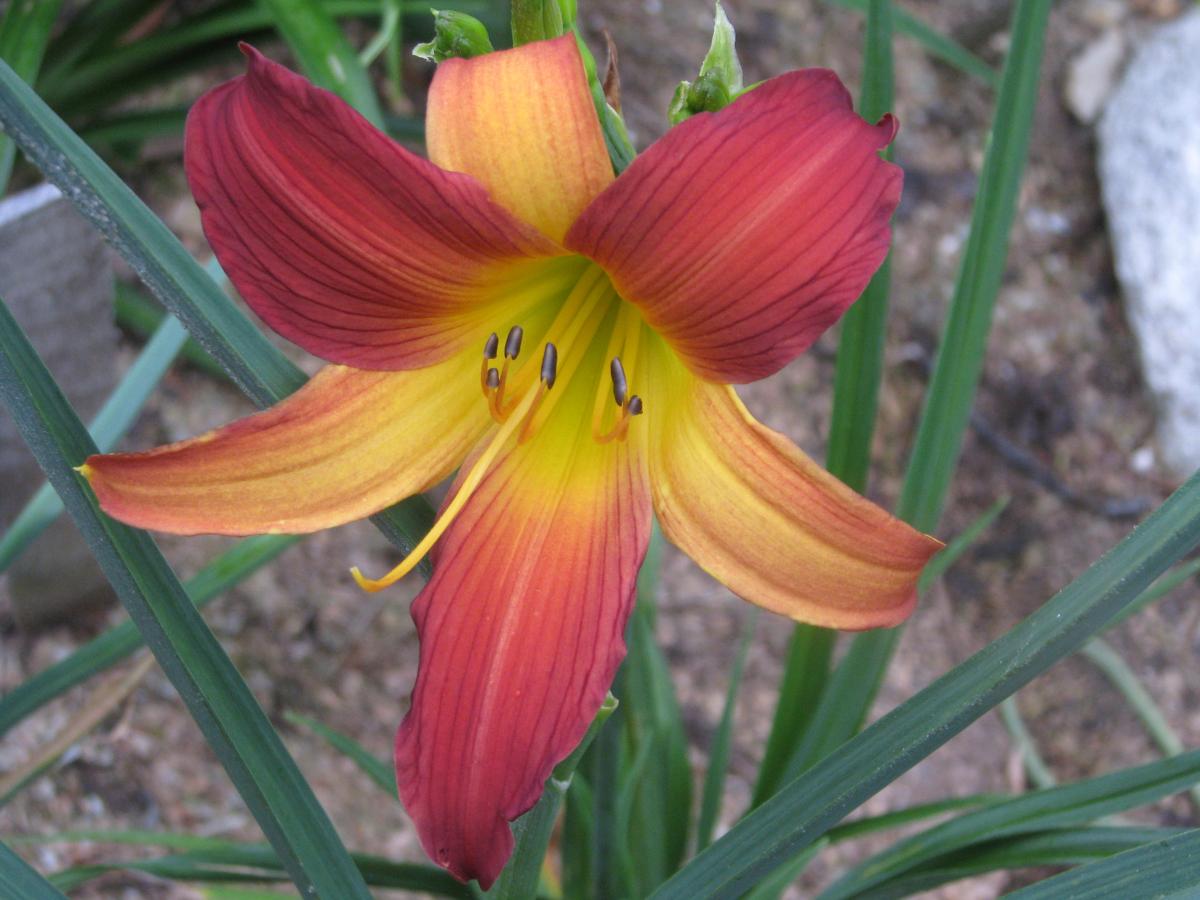
The yellow one is an unknown that I have been growing for years. I have given it the garden name of 'Jeddore Yellow Star'. The dark purple is H. 'Diabolique'. The third photo is of one of the offspring. It shows the shape of the first flower and the colours from the two parents combined in an unusual way. Some of the other seedlings from the same cross were not great looking and therefore, not worth keeping. After you cross the 2 daylilies a seed pod may begin to develop. Seed pods can look very similar to flower buds. As the pods mature they become rounder and fatter looking.
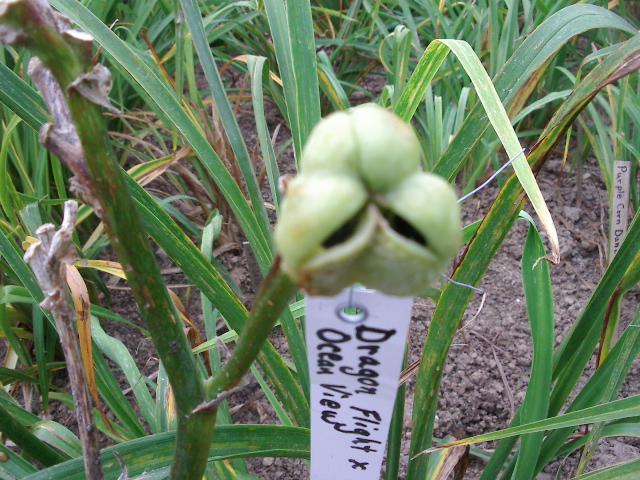
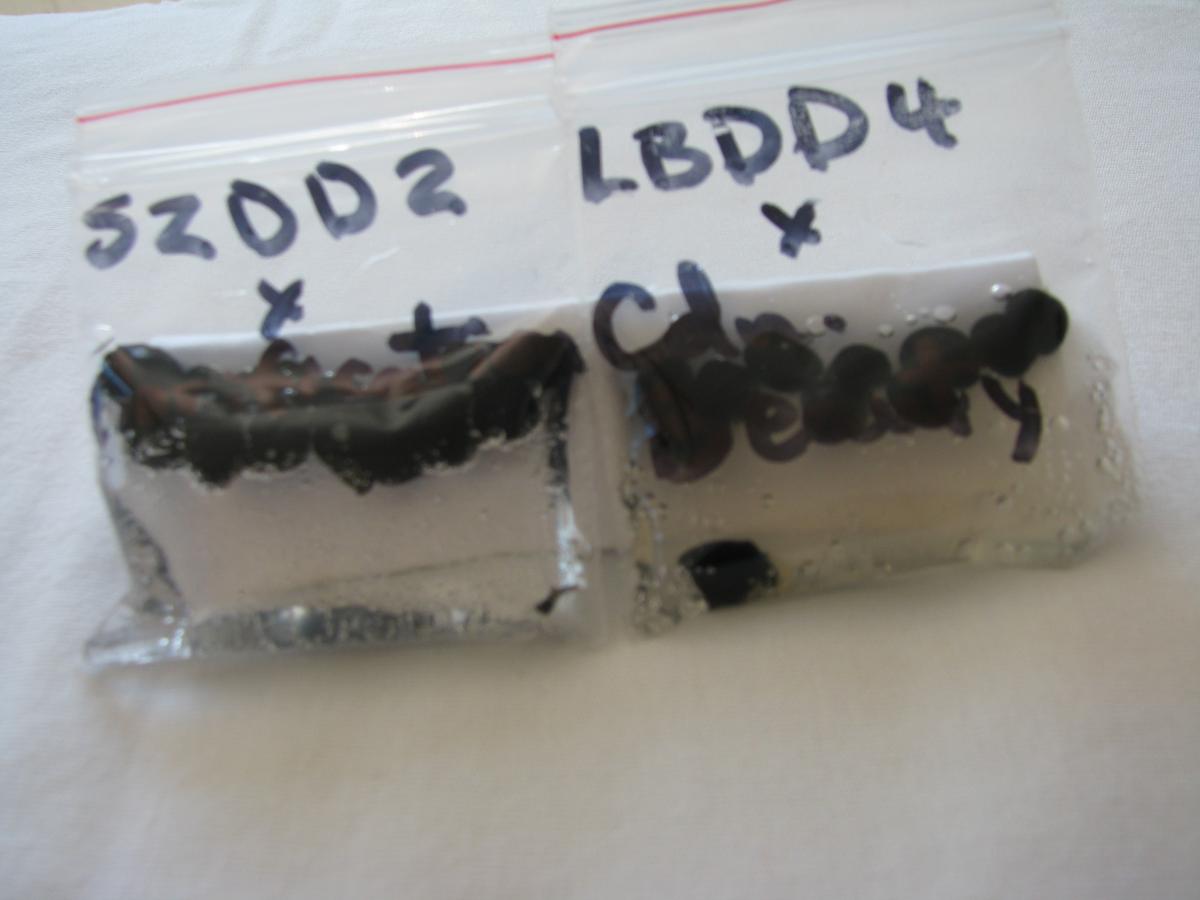
The photo at left below shows a fairly mature seed pod. Wait until they start to turn brown and then you can harvest the seeds. If the pod starts to crack open like the one below in the middle, then be sure and harvest right away before the seeds get damaged by rain or insects. Tetraploid seeds are larger than diploid seeds. In the photo at right below there are several tetraploid seeds beside a penny. I store mine in mini ziplock bags (yes, the ladies at the dollar stores say I am older than most of their customers who are looking for these little baggies) and refrigerate (do not freeze) them for at least 6 weeks. I mark the cross on the bag with a laundry marker. In the photo, I have marked one of my seedlings (SZLV4) crossed with 'Clarification'.

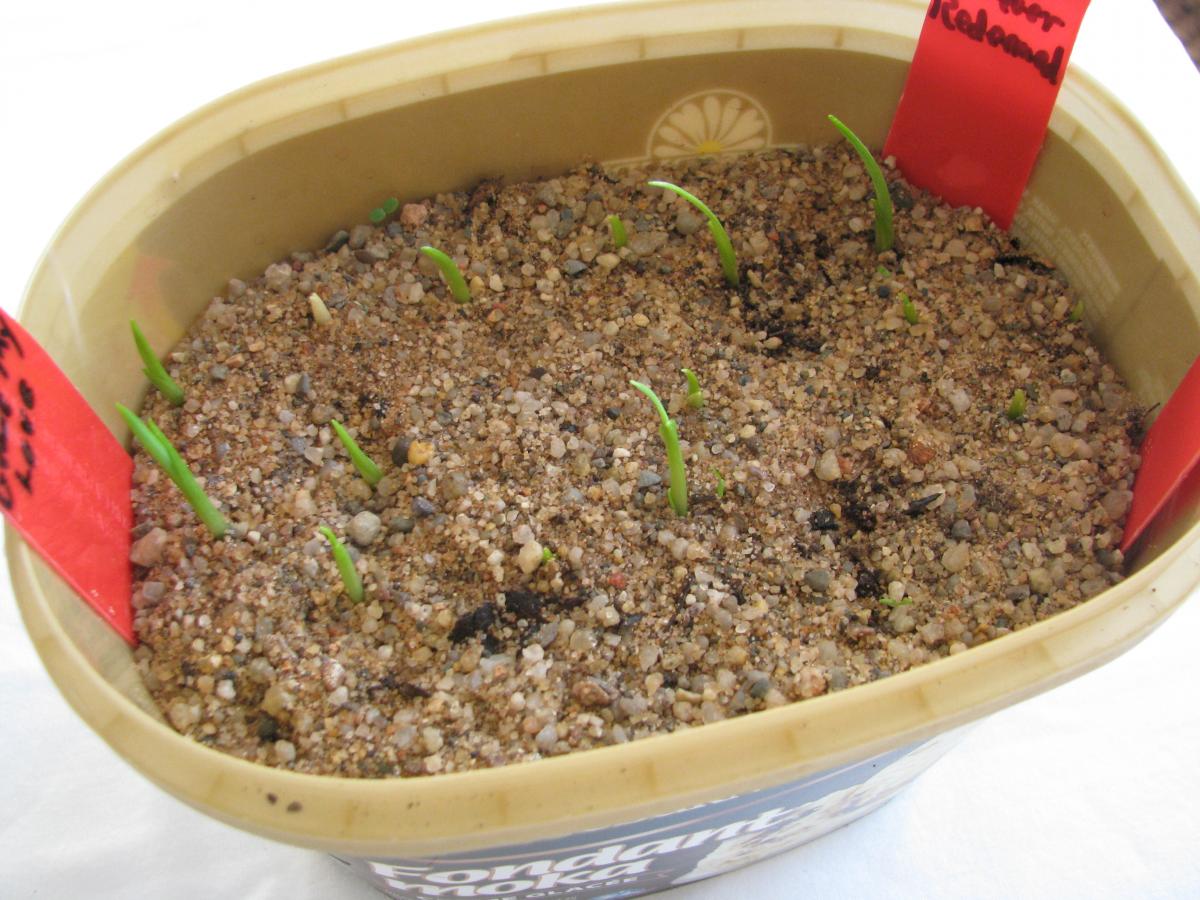
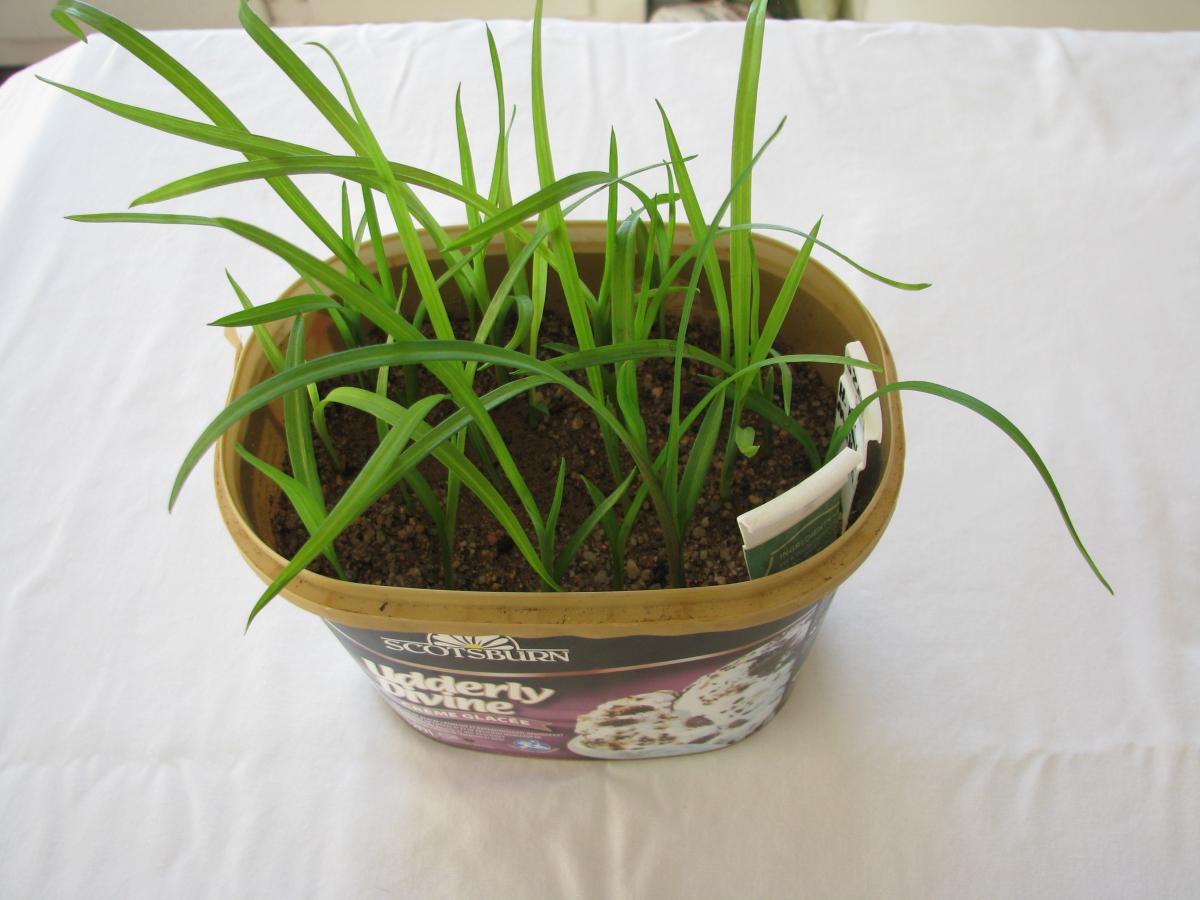
After refrigerating the seeds, they can be planted. I make a solution of 1 part hydrogen peroxide to 10 parts water and presoak the seeds in their baggies for a few days until roots start to emerge. I then plant in a mixture of potting soil and compost that has been watered with very hot water and then cooled slightly. I really like using the newer ice cream containers because they are fairly deep for root growth and don't dry out. I use a pencil to make small planting holes for the seed and plant with the root pointing down. I then cover the soil with a thin layer of fine sand to help control soil born diseases. The first photo shows the seeds soaking in the bags. The second photo shows the young plants beginning to emerge after a week. If you look carefully in the top left of the second photo you will notice a white seedling. This happens from time to time. The plant lacks chlorophyll and will eventually die. The third photo shows the seedlings after several weeks of growth. You can leave them in the container or re-pot them. Often I start my seeds in early March and plant them in the garden in May or June. Usually they stay in the same container until they are transplanted. I water regularly without over watering since there are no drainage holes in the container. I feed them with Seaboost, a Nova Scotia product derived from seaweed. I add it to the water once every two weeks. It helps to supply micronutrients that the seedlings need.
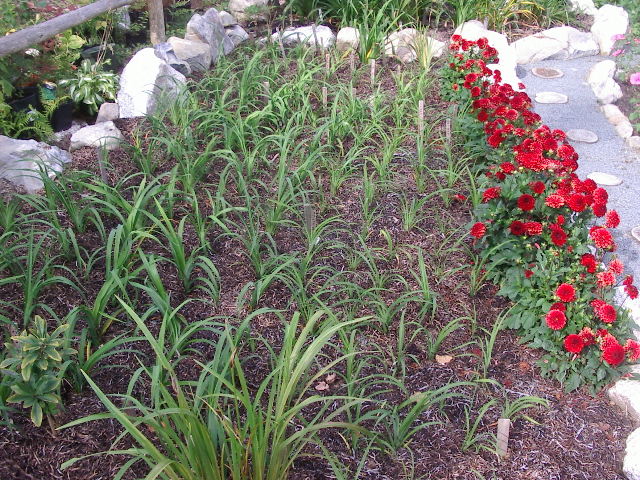
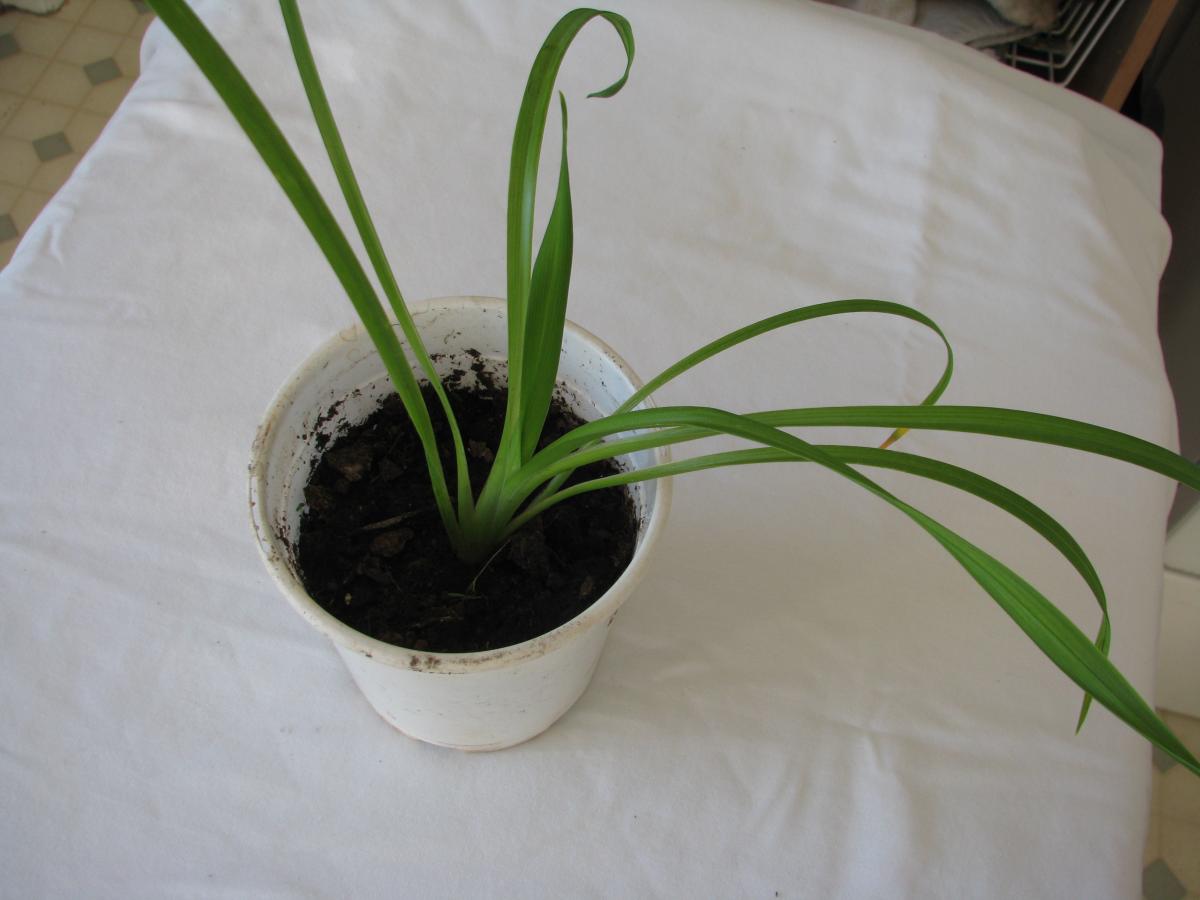
This year I started some seeds in the fall and they are now 3 months old and I transplanted them into individual containers. I again used potting soil with good compost. The seedling in the photo below is about 3 months old and may bloom this summer. Most of my seedlings do not bloom until their 2nd summer. The photo at right below is one of my seedling beds in September after being planted in June from seedlings started in March of the same year.
Below is a slideshow of a few of my seedlings that bloomed during the past summer.